cPanel is an easy application that permits clients to monitor servers through a GUI interface rather than the commands line. Despite the fact that the installation for cPanel is moderately straightforward, the script takes a few hours to run.

Advantages of cPanel :
- Easy Installation Process: cPanel can be easily installed in few steps. Just install the Linux OS and run the script for installation.You will see that a large portion of your server arrangement is finished.
- Highly adaptable: cPanel is adaptable widely with with huge numbers of the open source applications.
- Interactive interface: cPanel provides various virtual interfaces to various clients that incorporate customers, managers and email clients.
- Effortlessly versatile: cPanel furnishes you with a simple convenience include through which you can exchange your site starting with one facilitating organization then onto the next.
- No related knowledge required: One need not have any prior knowledge while handling and managing servers.
Additional details about cPanel:
- Once cPanel is installed, it cannot be expelled from the server without a complete server restore. cPanel does not offer an uninstaller
- Also, cPanel is liable to a licensing fee which may turn out to be around $200 a year.
Setup
Before installing cPanel on our droplet, we need to take two additional steps.
- First we have to ensure Perl is installed on the server
sudo yum install perl
- After installing perl we need to guarantee one more preliminary step. cPanel is very picky about ensuring that server that it is installed on has a Fully Qualified Domain Name. To that effect, we need to give it with a valid hostname. Skipping this step will surely get you the following error.
2016-11-03 16:00:54 261 (ERROR): Your hostname () is not set properly. Please
2016-11-03 16:00:54 262 (ERROR): change your hostname to a fully qualified domain name,
2016-11-03 16:00:54 263 (ERROR): and re-run this installer.
- Luckily this error has an easy solution. If you have a FQDN, you can type it in with the command:
hostname your FQDN
- Otherwise, if you want to proceed with the cPanel installation but do still lack the hostname, you can input a temporary one. Once cPanel is installed, one will be able to change the hostname to the correct one on one of the first setup pages.
hostname host.example.com
Install cPanel
The cPanel installation has only 7 steps, the installation takes only a couple of minutes.
- To start off, go ahead and install screen and wget:
sudo yum install screen wget
- Once screen is installed, start a new session running:
screen
- After opening screen, you can proceed to install cPanel with WHM or a DNS only version of cPanel.
Use this this command to install cPanel with WHM:
wget -N http://httpupdate.cPanel.net/latest
Use this command to install the DNS only version of cPanel:
wget -N http://httpupdate.cPanel.net/latest-dnsonly
- With the requested package downloaded, we can go ahead and start the script running:
sh latest
- Then close out of screen. The script, which may take one to two hours to complete will continue running while in the background—even if you close out the of server.
In order to detach screen type: Cntrl-a-d
- To reattach to your screen you can use the command:
screen -r
- Once cPanel finally installs, you can access the login by going to your ip address:2087 (eg. 12.34.45.678:2087l) or domain (example.com:2087)
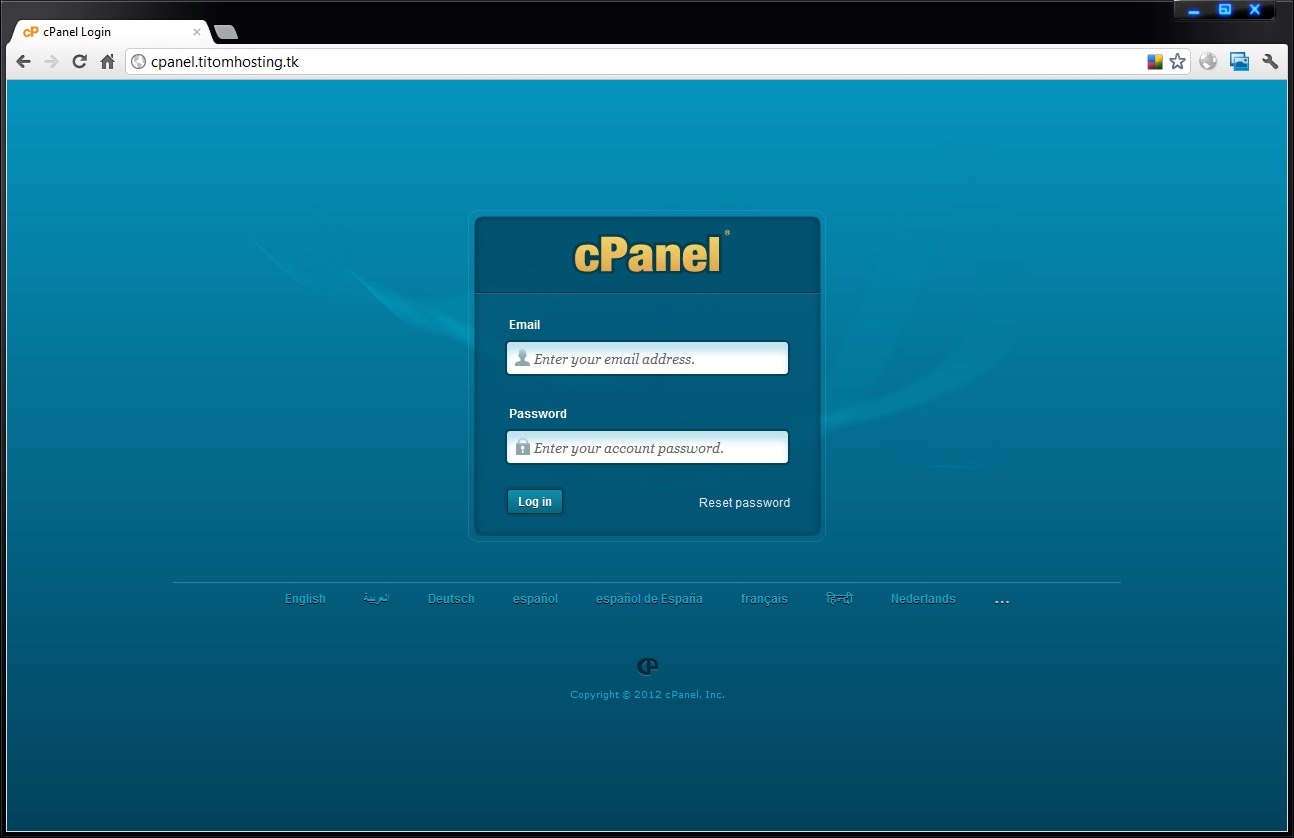
Your login will be:
username: your_server_user
password: your_password
you are finally done ! now login in at ipaddress/cpanel or domain/cpanel
Leave a Reply